Pro Tips for LookBookLink Success
Step 1 Login:
To sign in, click the button below. Our login can also be found on our website. Use the email address you registered with as your username. If you can’t remember your password, no problem! Click the “forgot password” link on the login form. We’ll send you an email with instructions to reset your password. CHECK YOUR SPAM FOLDER if you don’t see your confirmation or password reset email within a few minutes.
Step 2: Set Subscription Plan and Payment Type Settings.
Navigate to Settings >> Billing and Payments to select or update your subscription or payment settings.
Step 3: Set Set your @name
Your LookBookLink uses your chosen username at the end of the web address, like this: lookbooklink.com/YOURNAME
Want to personalize it? Head to Settings > Account to update your username. But be careful! Changing your username will automatically create a new QR code and update the link address. This means your old username and QR code won’t work anymore. So update your username before sharing your LookBookLink!
Step 4: Short Video Clips For Best Results
These quick video tutorials, most under two minutes, are perfect for learning LookBookLink at your own pace. Watch them individually or all at once to become a LookBookLink pro and get the most out of it!
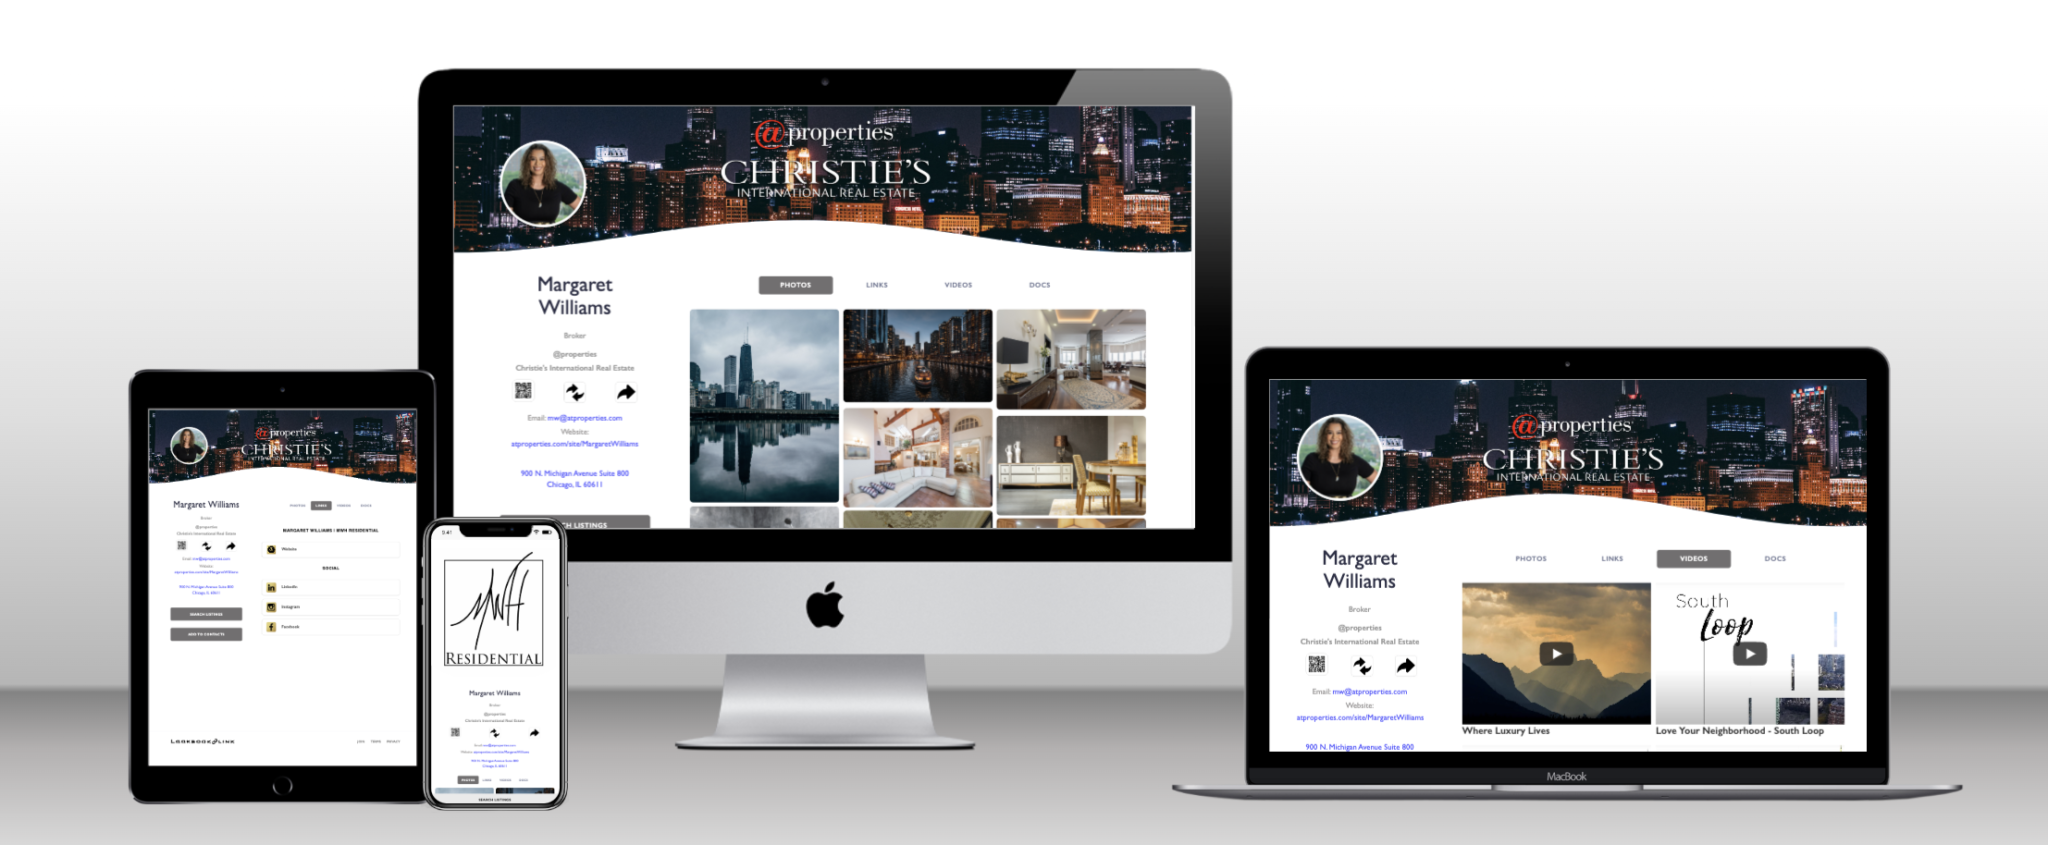
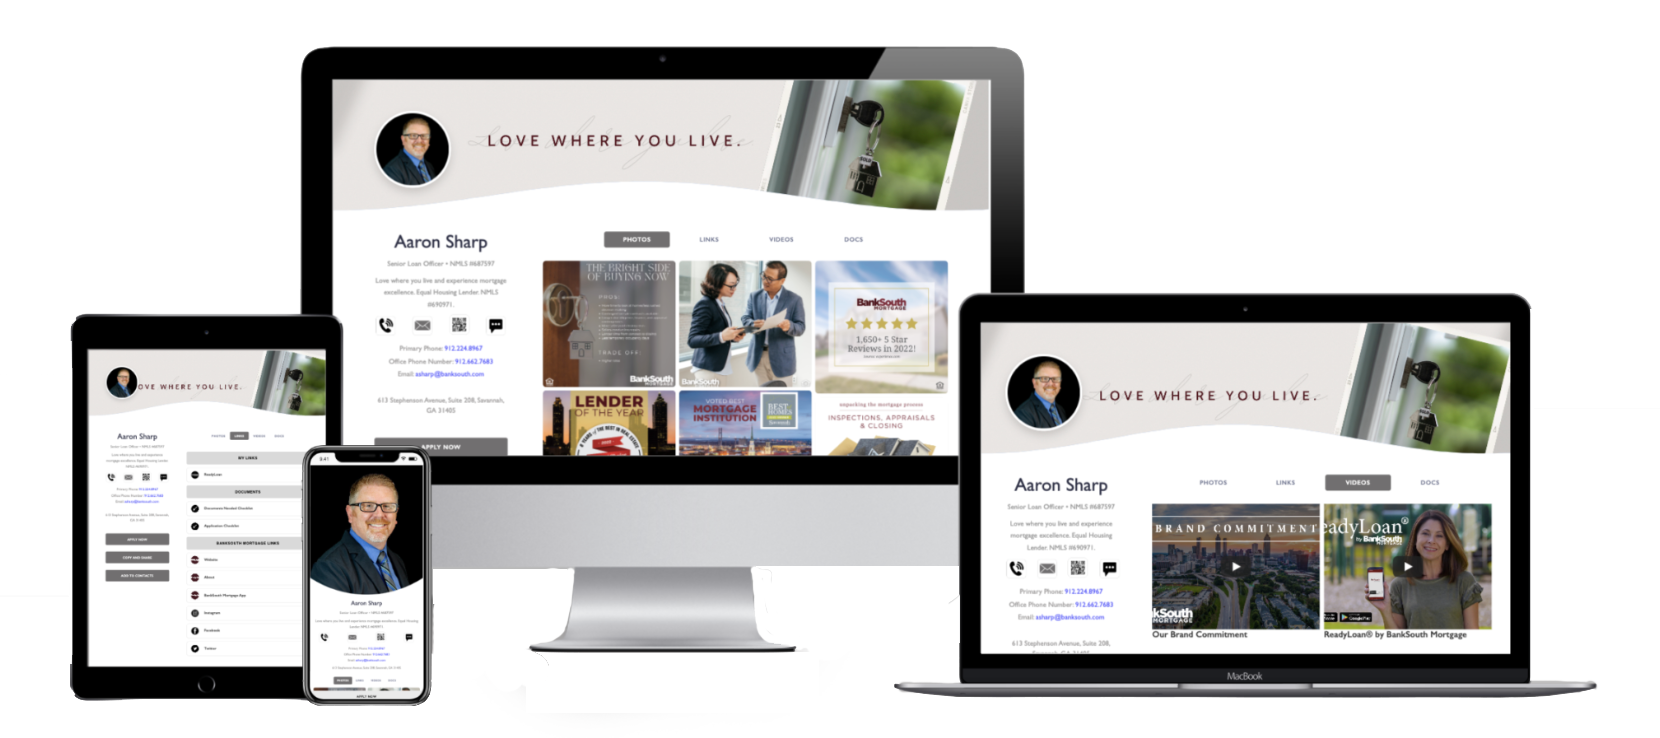
LookBookLink is a page meant for business.
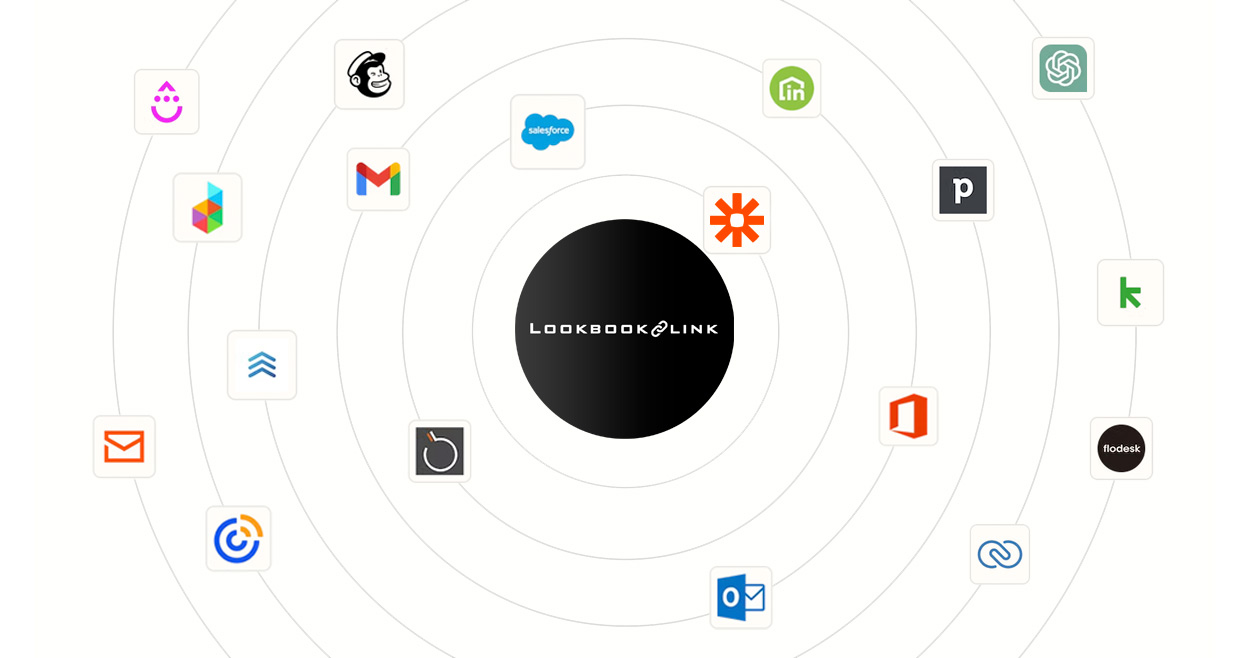
Connect all your content, swap info with a few clicks, and lead your audience to the actions you want them to take.


